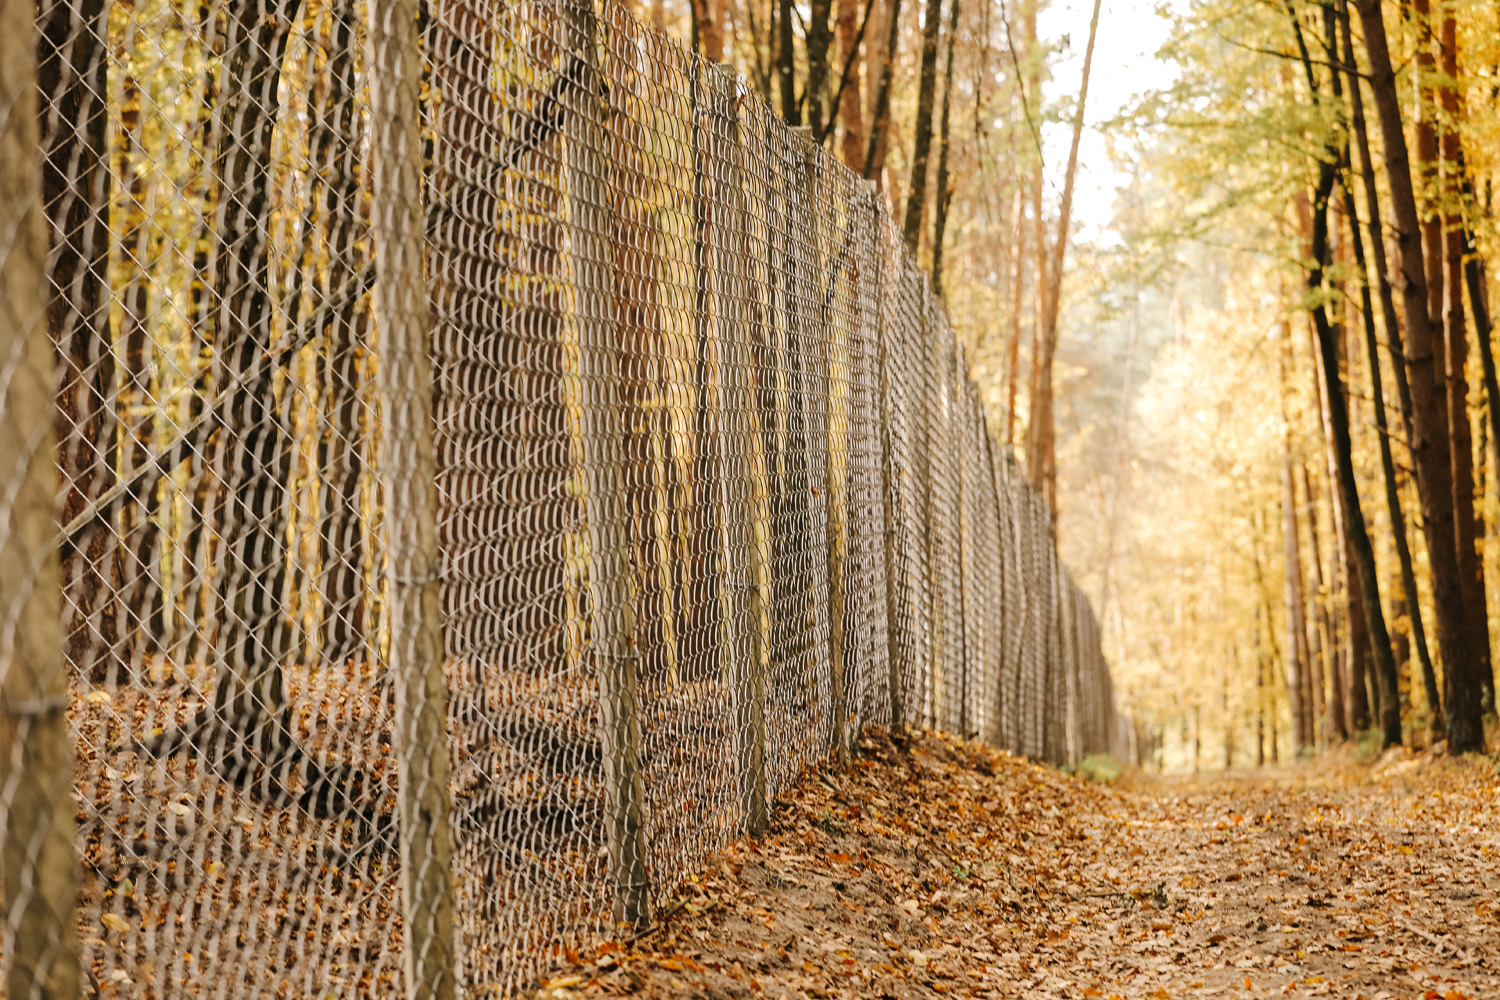
Chain link fencing is a versatile and widely used option for both residential and commercial properties. It offers durability, security, and an economical solution for enclosing an area. This guide will provide you with a step-by-step approach to installing chain link fencing, ensuring your project is successful and meets your needs.
Before diving into the installation process, it’s important to understand what makes chain link fencing a popular choice. It consists of steel wires woven into a diamond pattern, which is both strong and flexible. This type of fencing is often used for security purposes, to enclose pets, or simply to mark property boundaries.
Use stakes and string to mark the outline of where the fence will go. This will help you visualize the project and ensure straight lines. Place a stake at each corner to denote where the terminal posts will be installed.
Dig holes for the terminal posts (corners, ends, and gates) first. These holes should be about 8 inches in diameter and 2 feet deep, or a third of the height of the post, to ensure stability. For line posts, the holes should be smaller and evenly spaced along the length of the fence line, typically 6 to 10 feet apart.
Place terminal posts in their holes. Add 4 inches of gravel for drainage, then insert the post. Pour concrete around the post, leaving 2 inches from the top for soil cover. Ensure posts are level and aligned with your layout lines. Allow the concrete to cure as recommended.
Repeat the process for line posts, ensuring they are slightly lower than the terminal posts to accommodate the top rail. Use a level to ensure all posts are straight and evenly spaced according to your layout.
Install the top rail by sliding it through the loop caps on top of each post. Secure the rail ends to the terminal posts using rail caps.
Starting at one terminal post, unroll the chain link fabric along the outside of the fence line. Use tension bars and bands to secure the fabric to the terminal posts. Then, use tie wires to attach the fabric to the top rail and line posts at intervals.
Use a fence puller to stretch the fabric tightly from one terminal post to the next, eliminating any slack. This is critical for a taut, secure fence.
Once the fabric is stretched and in position, secure it with tie wires at regular intervals along the top rail and posts. Trim any excess fabric from the ends and secure the ends with tension bands.
If your fence includes gates, follow the manufacturer’s instructions for installation, ensuring they are level and swing freely.
Installing a chain link fence can be a rewarding DIY project that enhances your property’s security and aesthetics. By following these steps carefully and preparing thoroughly, you can ensure a successful and durable installation. Remember, the key to a great fence is not just in the installation but also in the planning and preparation. Take your time, measure twice, and your chain link fence will serve you well for years to come.